AUDIO AND VIDEO SETTINGS
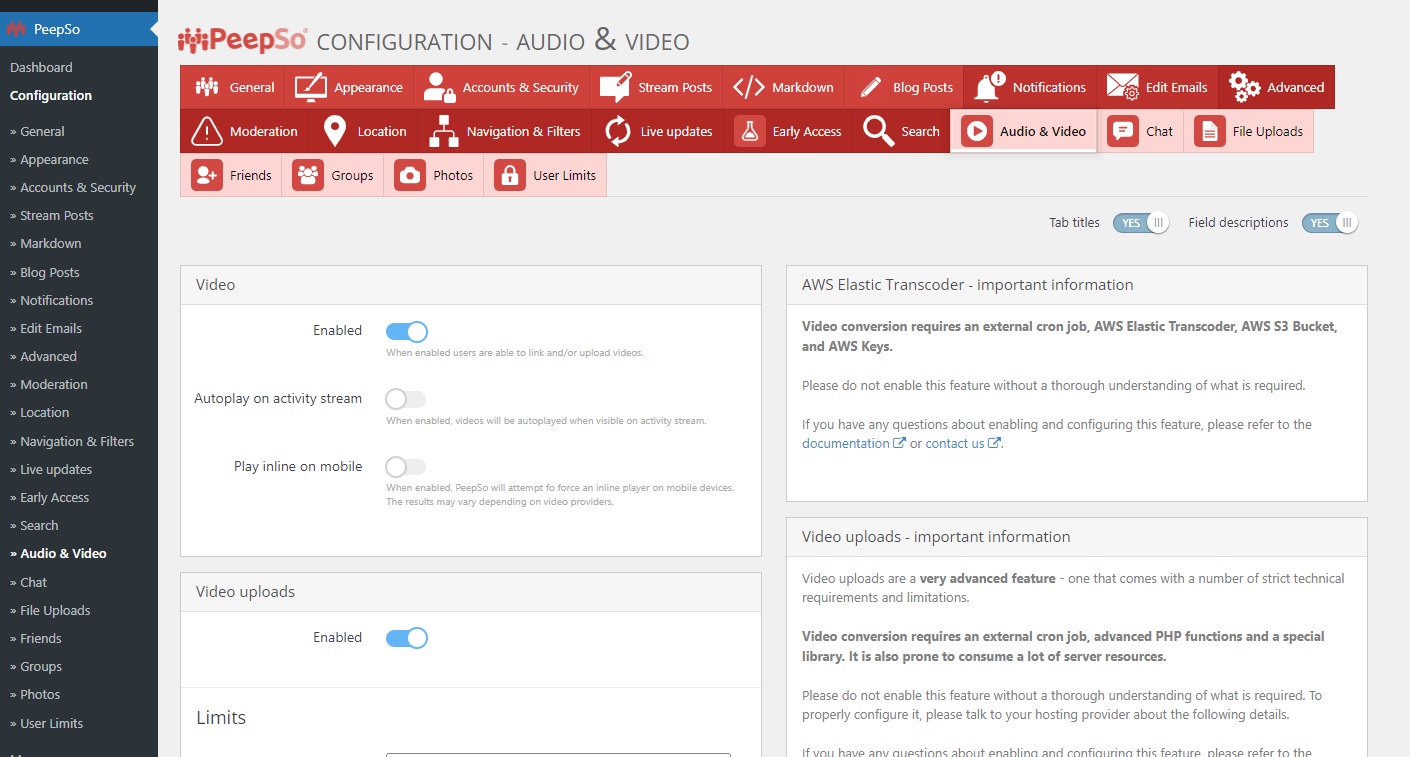
Audio and Video configuration is accessed through WP Admin -> PeepSo -> Configuration -> Audio And Video
It is divided into two sections.
The left-hand section contains all the configuration options, while the right-hand section contains useful information for proper setup of the features provided with the plugin.
Configuration Options
Video and Audio panels
Enabling or disabling the Video master switch will completely enable or disable Audio and Video features.
Autoplay on activity stream – when enabled, videos will be auto-played when visible on the activity stream. Unless marked as sensitive (feature must be enabled first in PeepSo -> Configuration -> Moderation -> Sensitive post), the video must be manually clicked in order to play.
Play inline on mobile – When enabled, PeepSo will attempt to force an inline player on mobile devices. The results may vary depending on video providers.
Video Uploads panel
This panel holds all configuration options regarding uploading videos to the site.
- Enabled: A master switch, once enabled users are able to upload audio. Has no effect on video linking feature.
AWS Elastic Transcoder Integration section
- Enable AWS S3 & Elastic Transcoder integration
- Amazon Access Key ID: The Access Key ID you received when you signed up for AWS
- Amazon Secret Access Key: Enter your Amazon Secret Access Key here if you wish to use AWS S3 Storage.
- AWS Region: Select bucket location of Amazon S3 Bucket
- Amazon S3 Bucket: Name of the Bucket to upload your videos to on Amazon S3
- Elastic Transcoder Pipeline Id: Enter your Elastic Transcoder Pipeline Id here if you wish to use AWS S3 Storage.
- Elastic Transcoder Preset Id: Enter your Elastic Transcoder Pipeline Id here if you wish to use AWS S3 Storage.
- Don’t keep a local copy of uploaded files: Enable: videos will be not saved in local
Conversion Section:
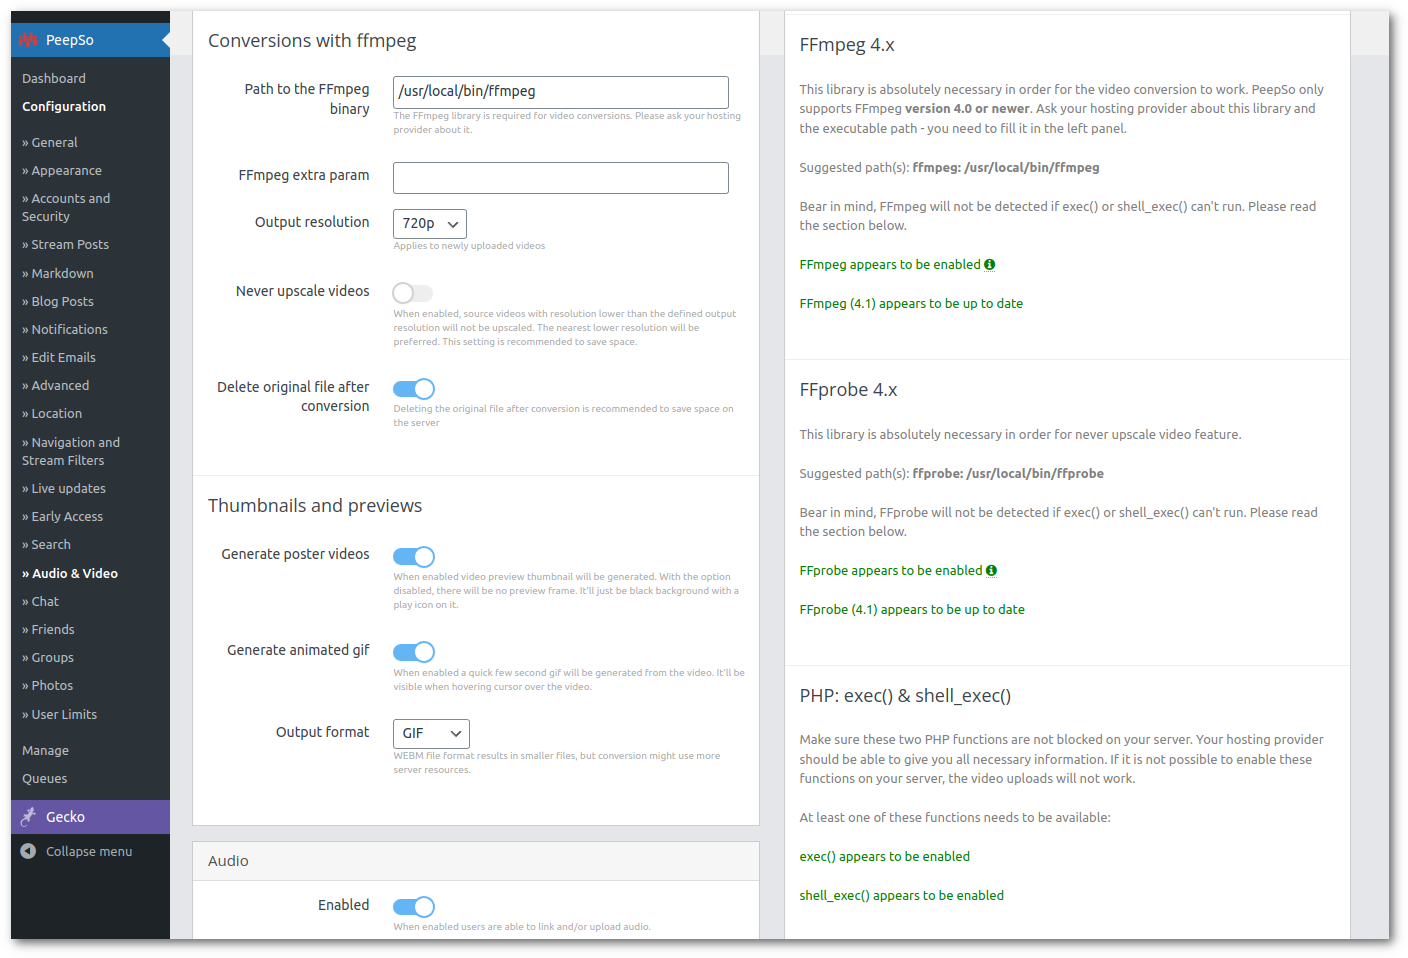
- Path to the FFmpeg binary: Path to the FFmpeg binary on your server. The FFmpeg library is required for video conversions. Please ask your hosting provider about it.
- FFmpeg extra param – Advanced users only! Leave blank if you don’t know any FFmpeg parameter.
- Output resolution: Video resolution of the output video.
- Never upscale videos: When enabled, source videos with a resolution lower than the defined output resolution will not be upscaled. The nearest lower resolution will be preferred. This setting is recommended to save space.
- Delete original file after conversion: Deleting the original file after conversion is recommended to save space on the server
No conversions mode (If this option is selected due to the lack of video conversion process, no thumbnails are generated for the videos):
- Allowed file extensions: It will allow all file types if empty. The only officially supported format at the moment is mp4.
Limits Section
- Maximum upload size: Maximum video upload size in megabytes – larger videos take longer to upload and convert.
- Allowed space per user: Allowed space per user in megabytes. 0 (zero) for no limit.
Thumbnails and previews Section
- Generate poster videos: When enabled video preview thumbnail will be generated. With the option disabled, there will be no preview frame. It’ll just be black background with a play icon on it.
- Generate animated GIF: When enabled a quick few second GIF will be generated from the video. It’ll be visible when hovering a cursor over the video.
- Output Format: Dropdown with following options
- GIF
- WEBM
- Both
Technical requirements verification section:
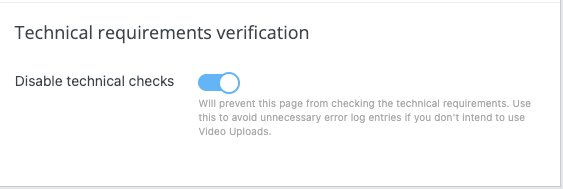
Enabling this option will prevent the page from checking the technical requirements. You can use this to avoid unnecessary error log entries if you don’t plan to use Video Uploads.
Audio Panel
Enabled: Master Switch. Users will be able to upload audio files. The files will be published immediately without conversion. Has no effect on audio linking feature.
Limits Section
- Maximum upload size: Maximum audio upload size in megabytes – WordPress maximum upload size allowed is 64MB
- Allowed space per user: Allowed space per user in megabytes. 0 (zero) for no limit.
Cover Art Section
Enabled: Cover art download will be attempted via Last.fm API.
Last.fm API key: You should enter the API key provided by Last.fm
Media Library Panel
Enabled: When enabled all users are able to access all files (including other users’ files) in the media library.

