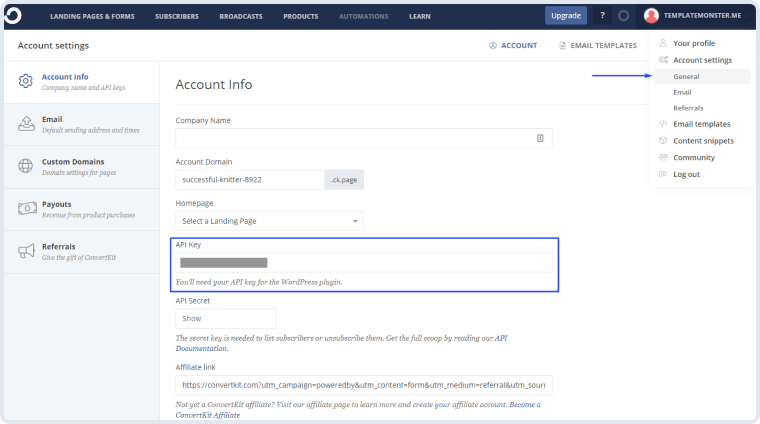
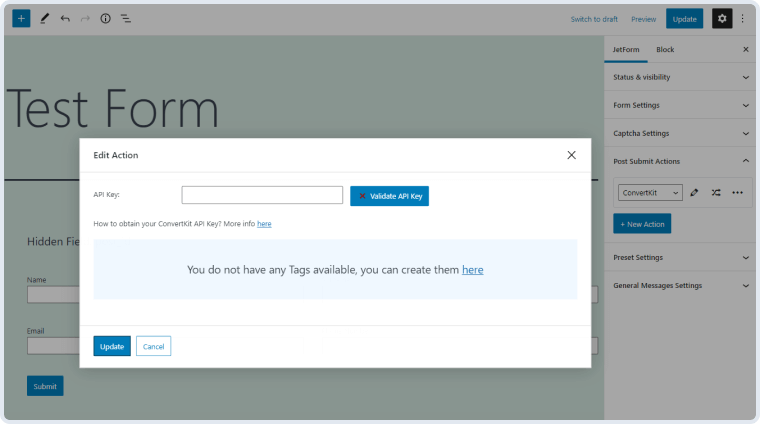
A field where you are supposed to insert the ConvertKit API key.
ConvertKit Action
An email marketing addon to ensure higher audience reach and income from mailing lists.

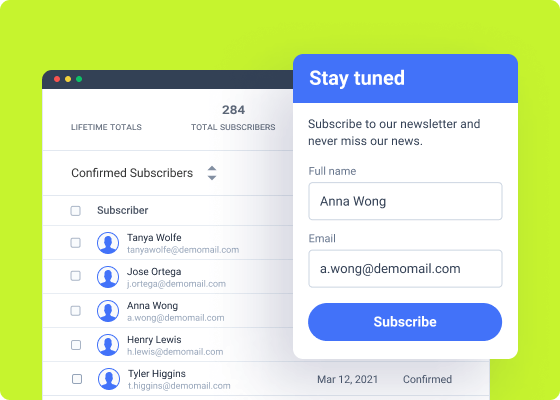
Connect with your audience via forms
ConvertKit Action is a JetFormBuilder addon that allows connecting Crocoblock forms to the ConvertKit email marketing & audience-building software. Not only you can promote products but also grow your audience and forge real bonds – all via email.
As a blog owner, you could cash in on mailing lists. For those who host events and conferences, ConvertKit Action Addon is a gateway to lead generation and feedback gathering.
Addon Functionality:
- ConvertKit Action integration
- Custom form fields
Unlock All ConvertKit Action Addon Options
This option allows you to add certain tags to your subscribers, which will be visible in the front.
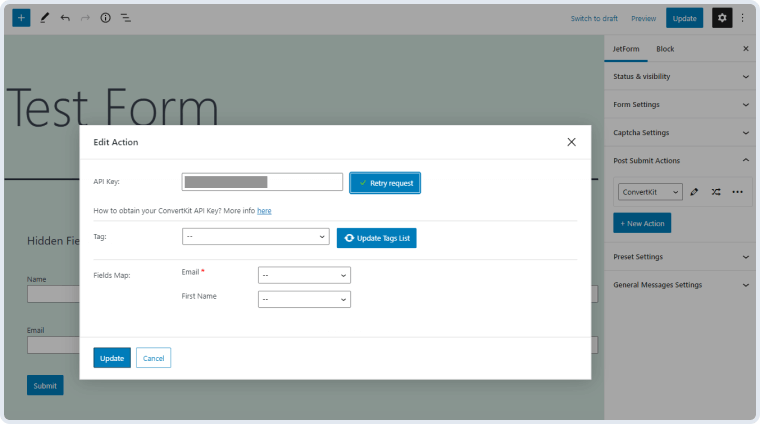
Fields Map represents a default set of Select field types that will appear on your form. You can add them from your ConvertKit profile.
Press it to send a request to the server and verify the API key. “Retry request” checks the key’s relevance.
This option lets you synchronize the tags from a ConvertKit profile and the form built with Crocoblock.
How to Configure ConvertKit Action
To install the addon, go to JetFormBuilder > Addons and find the “ConvertKit Integration” addon in the All Available Addons section. Press the “Install Addon” button and, once installed, it will appear on Your Installed Addons. Next, click “Activate Addon” to get it ready for further work.
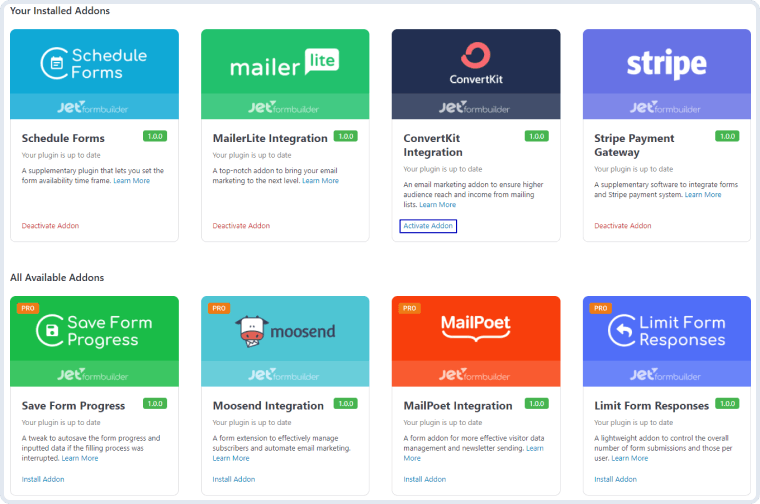
As you can see, all PRO version addons can be installed and activated through JetFormBuilder Dashboard.
Go to the ConvertKit website and create an account. If you already have an account, enter it.
Click on the profile button in the right upper corner of the top toolbar. Proceed to Account Settings > General. Find the API Key bar in the Account Info tab. Copy the key.
Open your website’s dashboard and go to JetForms > Forms. If you already have a form you would like to link with the ConvertKit, open it. If not, click on the “Add New” button.
In the right-side menu, open the Post Submit Actions section, click on the “New Action” button and choose the “ConvertKit” option from the drop-down list.
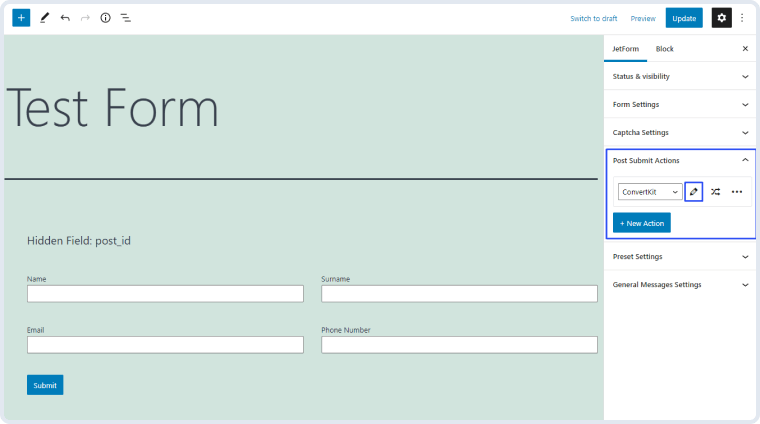
Press the edit button with a pencil-shaped icon on it and you will see the Edit Action window. Paste the API key you copied to the API Key bar and press the “Validate API Key” button.
In the Tag drop-down menu, you will see all the tags you created for your subscribers in the ConvertKit account. The Fields Map contains the fields that have to be filled from the form that the user submits. Only the Email field is required, and the First Name can be left empty. To create a connection between the form field and the user’s field in ConvertKit, choose the corresponding form field in the drop-down list near the Email and First Name positions.
When you are done, click the “Update” button. Now, when the user submits the form, the new subscriber will appear in the Subscribers list of your ConvertKit account.

