How to Manually Install a WordPress Plugin?

WordPress plugins are a great way to add functionality and enhance the features of your website. While there are thousands of plugins available in the WordPress repository, you may come across a situation where you need to manually install a plugin. This could be due to various reasons such as a premium plugin that is not available in the repository or a custom plugin developed specifically for your website. In this guide, we will walk you through the steps to manually install a WordPress plugin.
Step 1: Choose and Download the WordPress Plugin
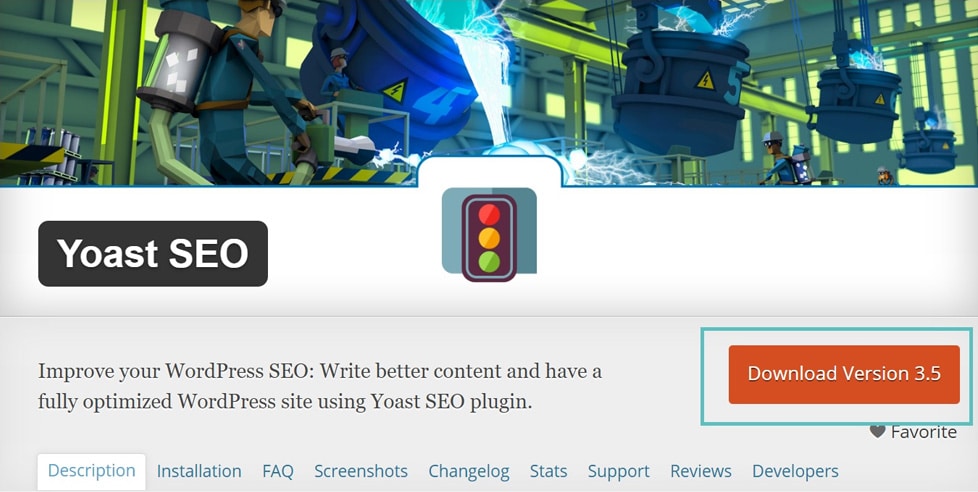
The first step is to choose the plugin you want to install and download it to your computer. You can find plugins on the official WordPress plugin repository or from third-party websites. Make sure to download the plugin in a zip file format.


Step 2: Access Your WordPress Admin Dashboard
Next, log in to your WordPress admin dashboard. This is usually accessed by adding “/wp-admin” to the end of your website’s URL (e.g., www.yourwebsite.com/wp-admin). Enter your username and password to log in.
Step 3: Go to the Plugins Page
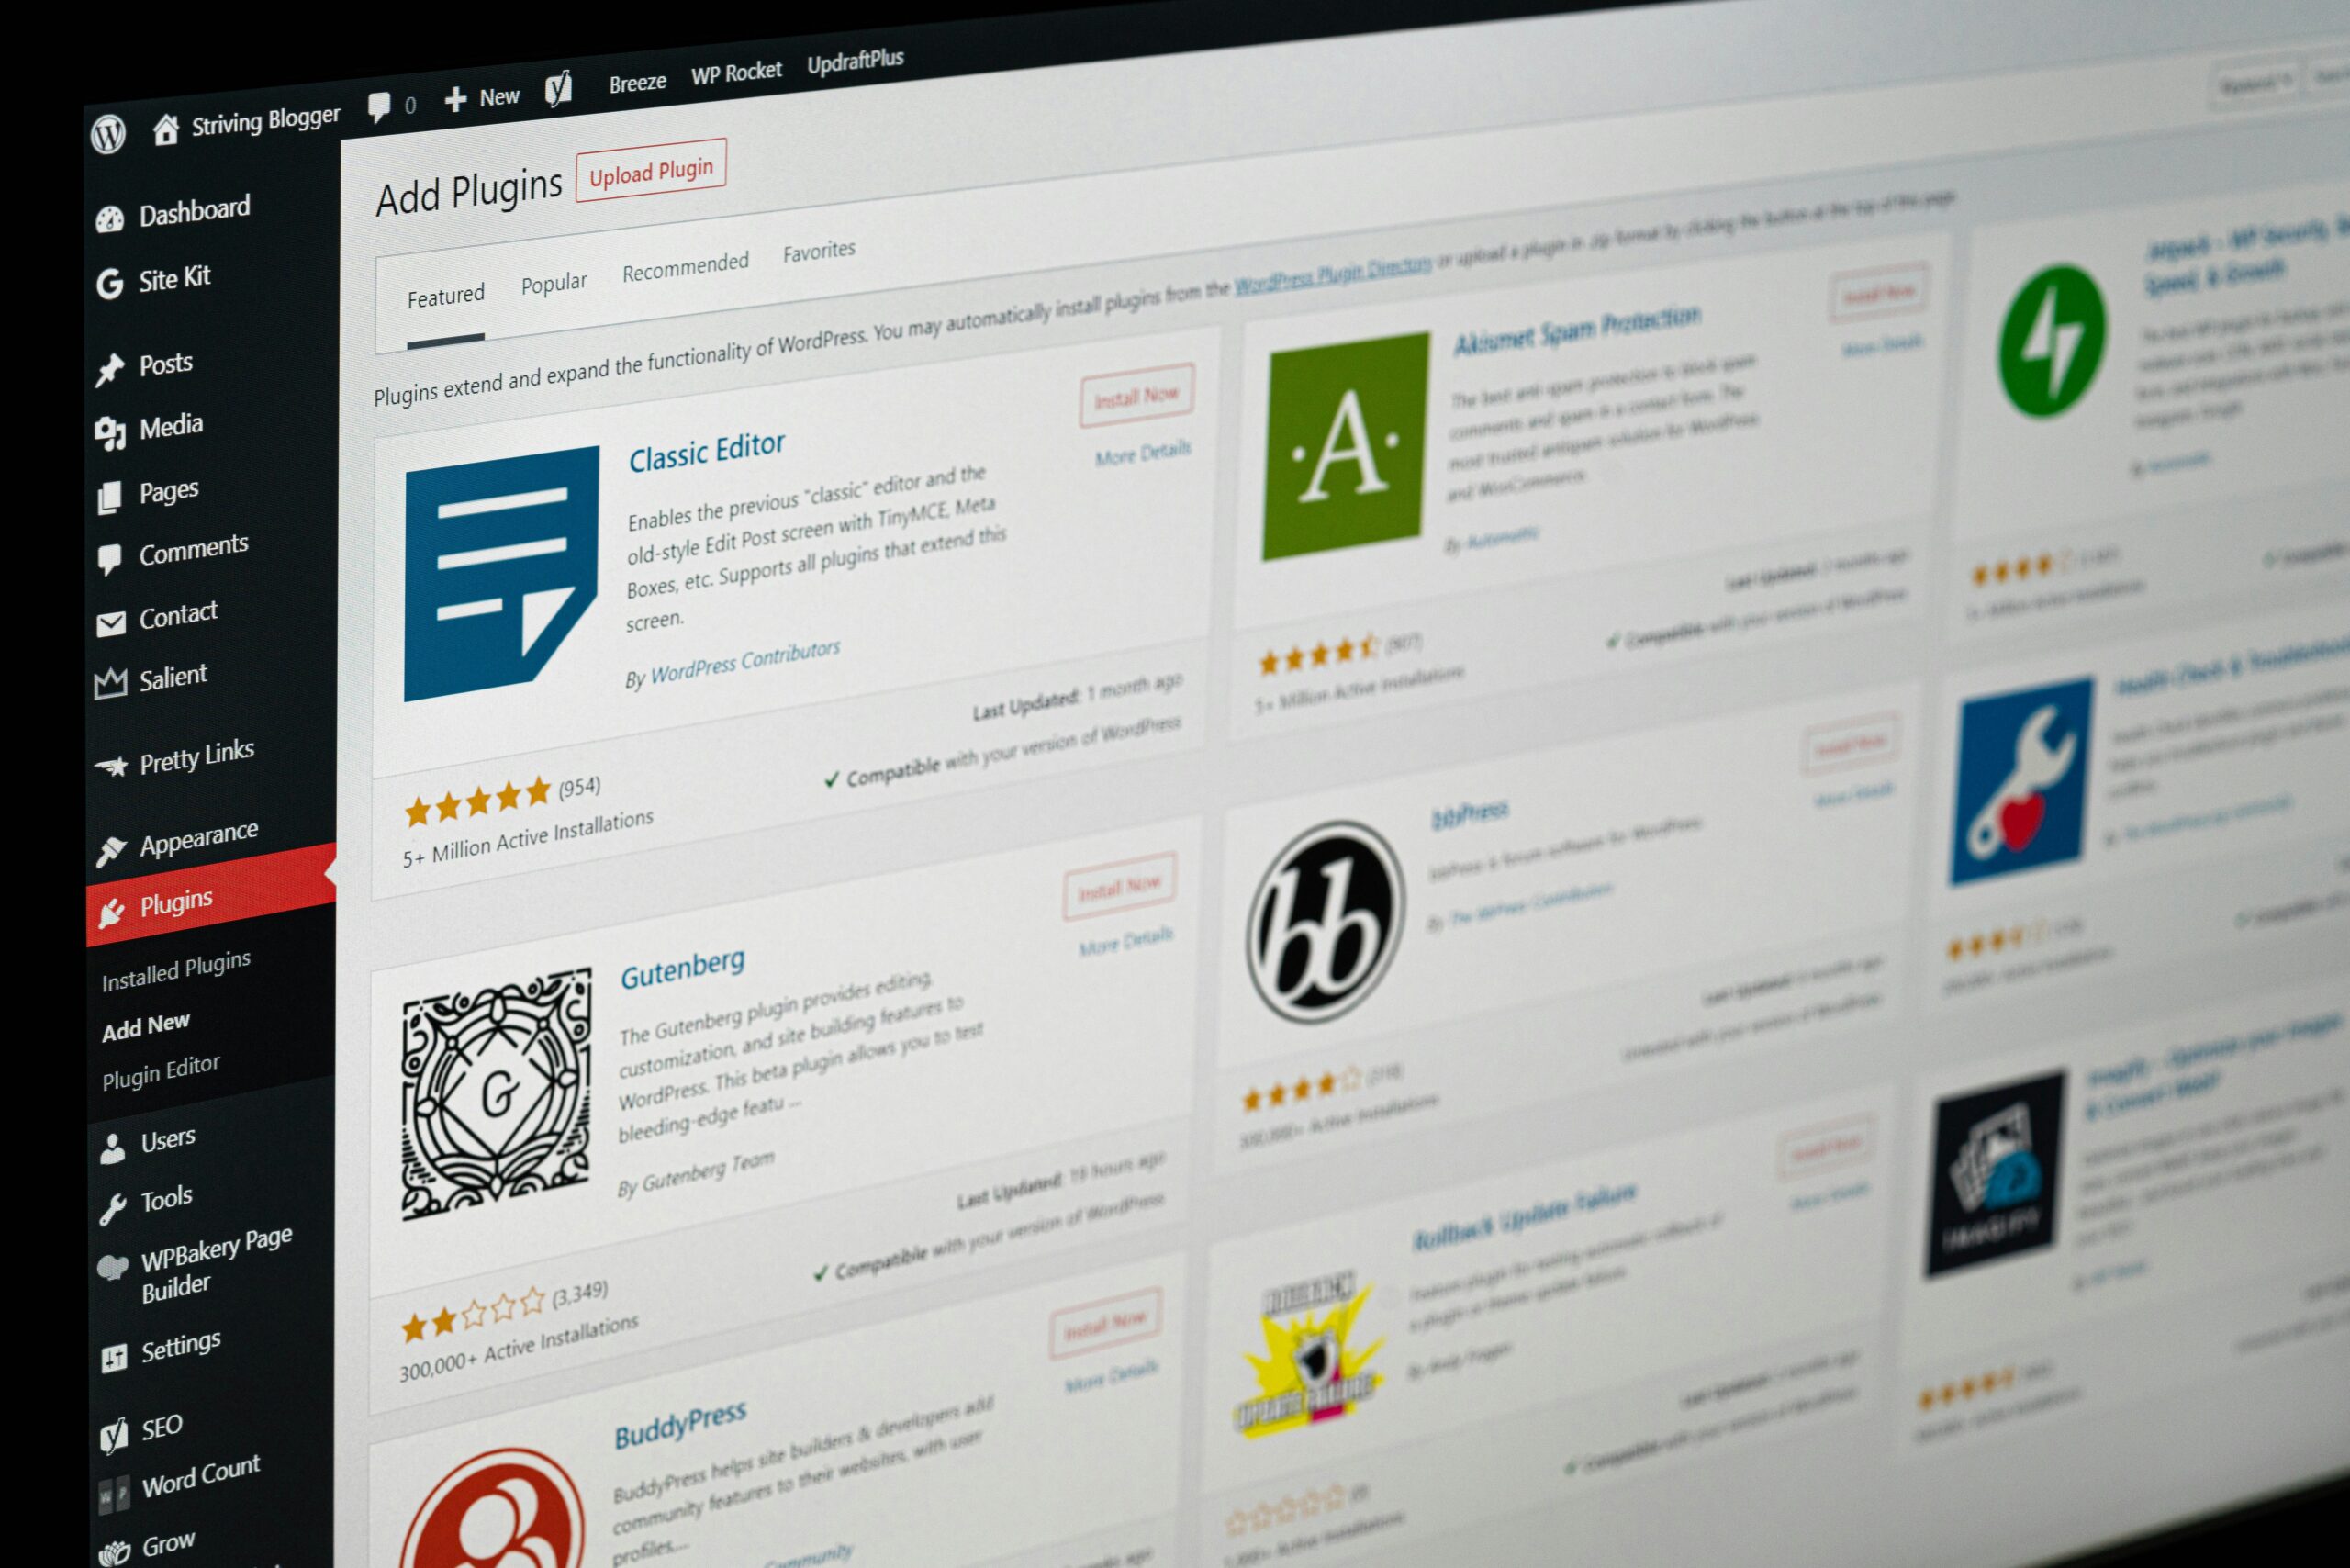
Once you are logged in, navigate to the “Plugins” page on the left-hand side menu. Click on “Plugins” to access the plugins page.
Step 4: Upload the Plugin
On the plugins page, you will see a button that says “Add New” at the top. Click on it to go to the plugin upload page. On the plugin upload page, you will see an “Upload Plugin” button. Click on it to proceed.


Now, click on the “Choose File” button and select the plugin zip file you downloaded earlier from your computer. Once you have selected the file, click on the “Install Now” button to start the installation process.
Step 5: Activate the Plugin
After the plugin is successfully installed, you will see a success message. To activate the plugin, click on the “Activate Plugin” button. Once activated, you can configure the plugin settings and start using its features on your website.

Step 6: Verify the Plugin Installation
To verify that the plugin has been installed correctly, you can go to the “Plugins” page and check if the plugin is listed. You can also navigate to the relevant section of your website where the plugin’s functionality should be visible. If everything is working as expected, then congratulations, you have successfully manually installed a WordPress plugin!
Conclusion
Manually installing a WordPress plugin can be a simple and straightforward process if you follow the steps outlined in this guide. By manually installing plugins, you have the flexibility to add any custom or premium plugins to your website that are not available in the official WordPress repository. Remember to always choose reputable plugins and keep them updated for optimal performance and security. Happy plugin installation!


